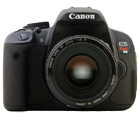
2 Tricks to Improve DSLR Flash Photos
Yes, it is possible to improve DSLR flash photos so that your subject doesn't look like a deer in a spotlight.
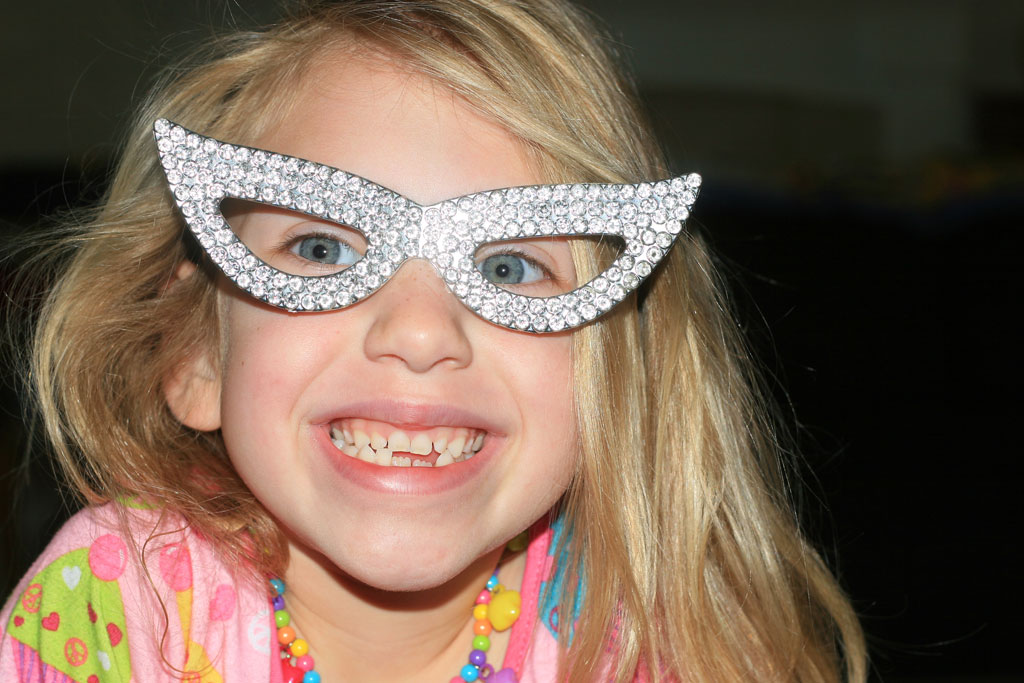
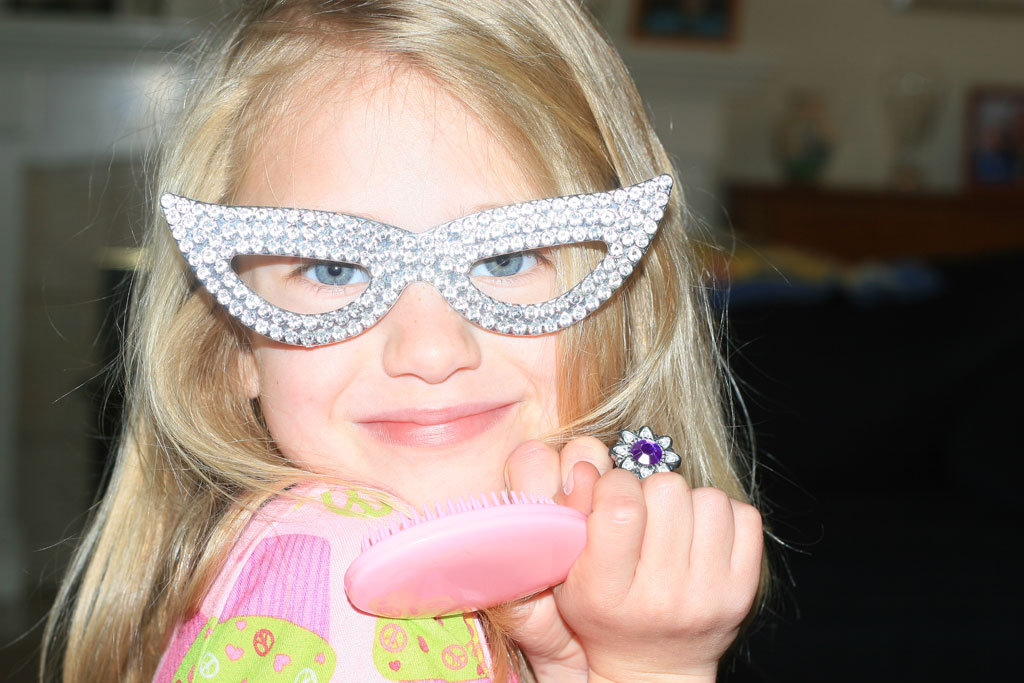
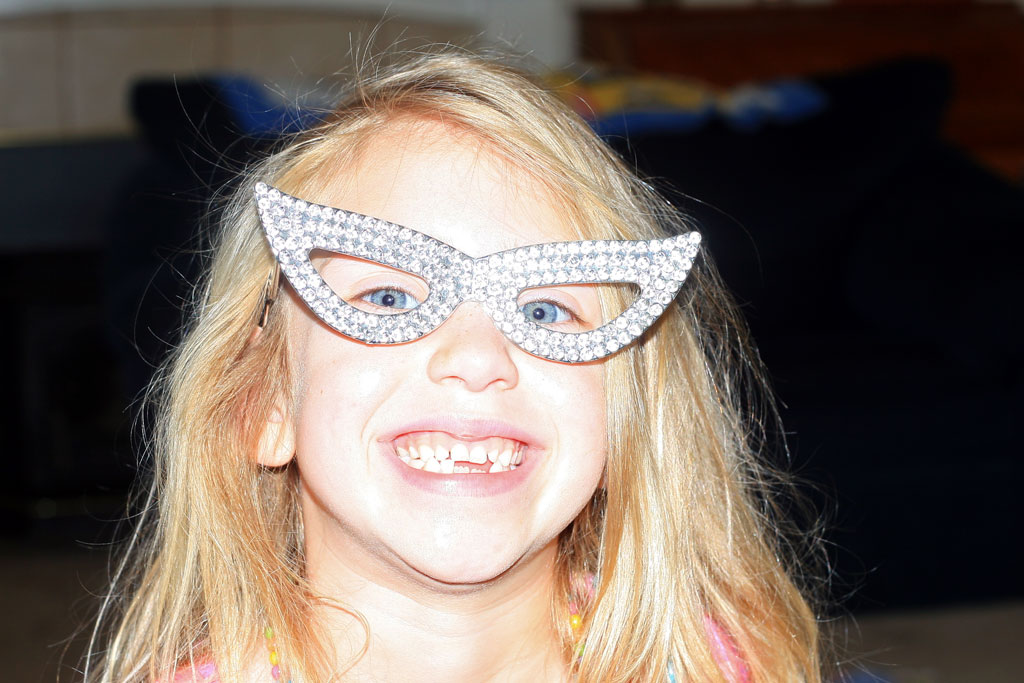
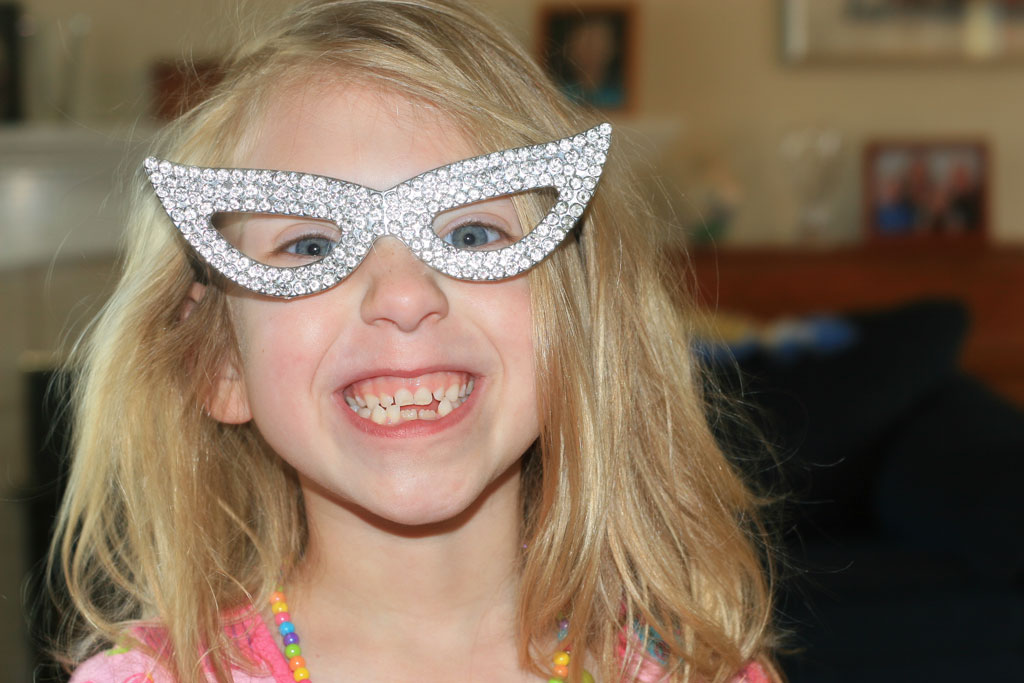
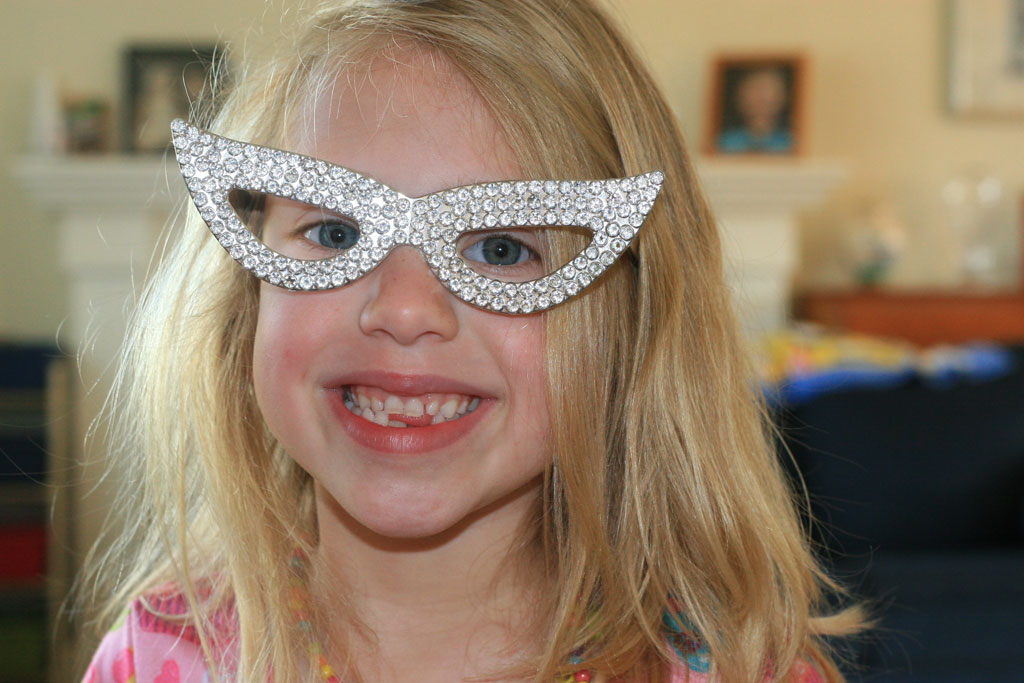
If you've taken a lot of pictures with the built-in flash on top of your DSLR you know the look well: your subject (and the near foreground) is lit up bright as day, while anything in the background looks black as night.
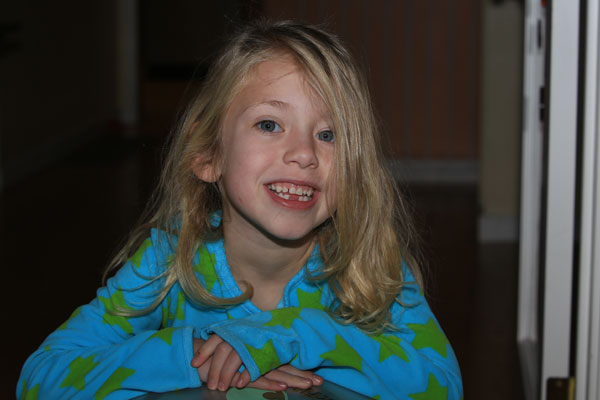
Some of this has to do with size and power. The dinky flash built in to most digital SLR cameras simply isn't large enough or powerful enough to illuminate a large area.
This is why if you really take a LOT of pictures with flash you should invest in an external flash unit for your DSLR – this alone will improve the quality of your flash photos.
However, many readers either A) don't have the discipline to always carry along an external flash or B) cannot afford to purchase an external flash.
If you fall into one of these two categories, then you're stuck with the flash that came with your DSLR. The good news is that you don't have to settle for the deer-in-the-headlights look you see above.
I'll explain 2 tricks that will help you improve DSLR flash photos.
Trick #1 – Set Shutter Speed Manually
This first trick requires quite a bit of explanation, since it really doesn’t make sense out of context.
Every time I suggest to a beginner that manual mode really is better than AUTO when using flash they look at me as though I've lost my mind.
I'm not saying that you can't get decent flash pictures in AUTO mode – you can – but in manual mode you'll have more control over the exact settings the camera uses and you'll be able to better balance the light from the flash with the ambient light in the background.
First, you need to be taking pictures in a situation where there is little ambient light and flash is required. Late afternoon or evening (outdoors or indoors) is a great time to practice this technique.
Follow these steps:
- Set your camera to Manual (M) mode
- Make sure that the ISO is set to 100 (it may be already)
- Set the aperture of the lens to f/5.6 (the size of the lens opening – or aperture – is indicated by numbers that start with f like f/2.8 or f/4.0. The SMALLER the number, the WIDER the aperture)
- Select a shutter speed so that your photo is correctly exposed
- Do NOT enable the flash
With the settings I have just described, you will need to use a slow shutter speed in order to get a photo that isn't
completely black. The slow shutter speed results in a blurry subject.
- Now, activate your camera's built-in flash
- Manually set the shutter speed to 1/160th of a second (keeping all other settings the same)
You should get a typical built-in flash look: very bright foreground and subject and really dark background.
Here comes the trick: manually set the shutter speed to 1/30th of a second.
When you do this, you should see the background get brighter. The amount of light falling on your subject from the flash will still be the same, but the slower shutter speed will increase the background brightness to balance it with the light from the flash.
You can now use shutter speed to manually control the brightness of the background when you take pictures with flash.
- Faster shutter speed = darker background
- Slower shutter speed = lighter background
Trick #2 – Set ISO Manually
The second trick to improve DSLR flash photos is a snap now that you've taken manual control of shutter speed – it just requires you to make changes to a different setting.
The setting in question is ISO. When you increase the ISO, it makes the camera's sensor absorb light faster so the shutter doesn't have to stay open as long when the available light is dim.
When you have the flash enabled, changes to the ISO setting will only affect the brightness of the background, just like changes to shutter speed.
The main reason to use ISO instead of shutter speed is when you want to avoid motion blur.
Let's look at another example. Assume that your camera is set as follows:
- Manual mode
- ISO: 100
- Aperture: f/5.6
- Shutter Speed: 1/30th of a second
- Flash enabled
You take a few pictures with these settings but the
background is darker than you would like.
To brighten it, you slow your shutter speed to 1/10th of a second. This does brighten the background, but it also means that your subjects must remain absolutely still if you want to get a clear shot.
Instead of changing the shutter speed, let's change ISO instead:
- Manual mode
- ISO: 800
- Aperture: f/5.6
- Shutter Speed: 1/30
- Flash enabled
Excellent! The background is now much brighter and we're not running the risk of our subjects looking blurry. They can act natural instead of like statues.
Bonus Tip – Blending Shutter Speed and ISO
If you just use shutter speed or ISO on their own in manual mode, you should already see how this improves your DSLR flash photos.
But you can take it on step further by using the two of them together to fine-tune exactly how much your background balances with your foreground when you use flash.
Remember:
- Slower shutter speed OR higher ISO = brighter background
- Faster shutter speed OR lower ISO = darker background
Imagine the following situation: you're taking pictures of a party inside a dimly-lit house. You need to use a flash to add some light to the scene, but you don't want it to be dominant in all your pictures.
With your camera in manual mode, an ISO of 100 and your flash enabled, you select a shutter speed of 1/125. Unfortunately, the background is too dark.
To compensate, you slow down the shutter to 1/20. Now you've got the background brightness balanced with the foreground flash, but your moving subjects all look blurry. That shutter speed is too slow.
Now leverage ISO. Increase your shutter speed back to 1/125 (darker background) while increasing ISO to 800 (brighter background). You now have the background brightness that you want and your subjects look nice and clear.
Congratulations! You've learned how to improve DSLR flash photos and can impress all the party attendees with your spectacular photos.
Join Our Community!
- Learn more about your digital SLR camera
- Get other opinions about camera models
- Share your photos and get feedback
- Learn new DSLR tips and tricks
